Adventure Finance: Budgeting Your Thru-Hike Expenses
Master the art of thru-hike budgeting! Learn strategies to manage costs for gear, food, travel, and lodging, plus smart tips to save money without sacrificing comfort.
Embarking on a thru-hike is not just a physical challenge – it’s a financial journey too. In fact, money woes are one of the top reasons hikers end their trek early. But with a solid budget and smart planning, running out of money won’t be what stops you.
This “Adventure Finance” series will empower you to take charge of your thru-hike finances so you can make it happen. We’ll break down typical cost categories (from gear to gummy bears), lay out strategies for different hike lengths, and share creative ways to fund your adventure. By the end, you’ll have a clear plan to fund your dream trail - and a handy worksheet to build your own thru-hike budget. Let’s dive in and remove the financial fear from your solo adventure!
Gear & Equipment
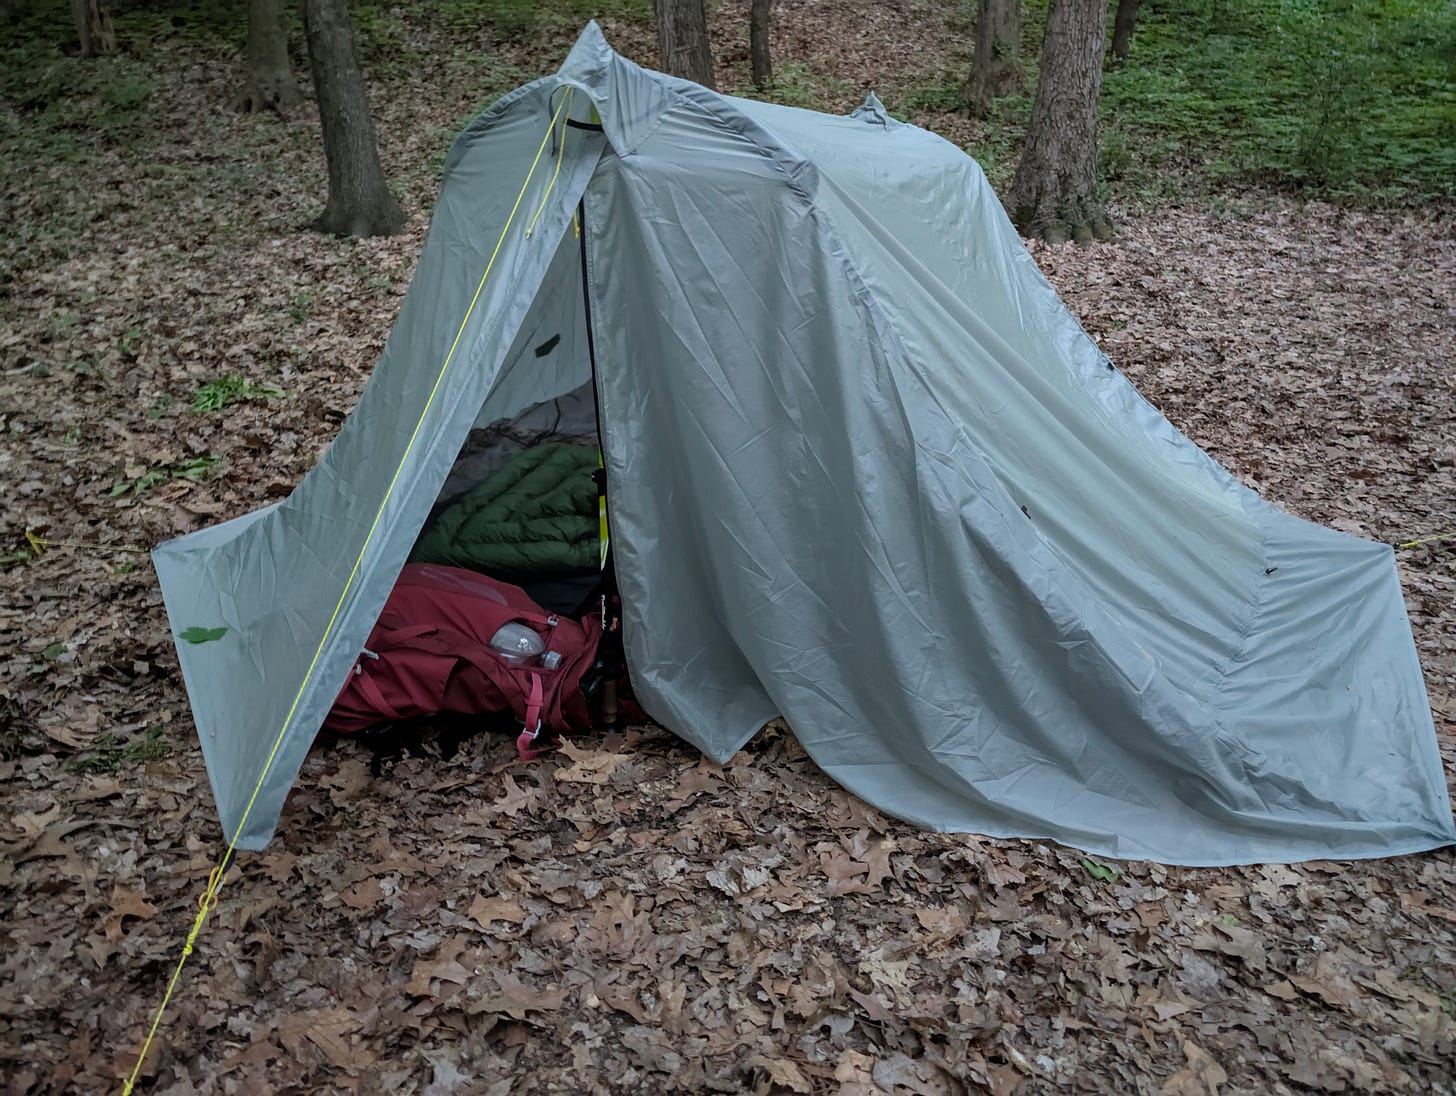
Gear is oftentimes the biggest upfront expense. A full lightweight backpacking kit (pack, shelter, sleep system, etc.) can easily cost $1,000–$3,000 if bought new. In fact, many hikers can outfit themselves with quality gear for around $2,000, though ultralight enthusiasts might spend more.
The good news: you don’t have to pay retail for everything. Here are some tips to manage your gear costs:
Take Inventory: First, see what you already own. Start a gear list on PackWizard.com and begin to build it out using what you already have in stock.
Buy Used or on Sale: Check secondhand gear sites, local gear swaps, or online forums for gently used equipment. Thriftiness pays – a pre-loved backpack or tent can be hundreds cheaper than new. If you’re unsure where to start, check out our recent guide on buying second-hand gear.
Prioritize Quality & Weight: It’s tempting to buy the cheapest gear, but remember that durability and weight matter on a long trail. A budget tent that leaks or a pack that causes pain can ruin your hike.
Female-Specific Gear Needs: Solo female hikers may consider gear like a female-oriented backpack (for a better fit) or hygiene items (e.g. a Kula cloth, menstrual products) – factor these into your budget to avoid surprises.
Budget for Replacement: Gear doesn’t last forever, especially over thousands of miles. Plan for consumable gear costs: you’ll likely destroy 3–5 pairs of trail runners on a long hike, for example. It’s wise to set aside funds for new shoes, busted trekking poles, or a replacement phone charger later (things will break out there). “Rainy day” gear money is a thru-hiker’s safety net.
By being gear-savvy – mixing new and used items, and focusing on value – you can fully outfit yourself without bankrupting your bank account. It’s entirely possible to gear up on a budget and still have reliable kit for the trail. Once you have your core gear, that expense is mostly behind you, and you can reuse equipment for future adventures.
Food & Resupply
Keeping yourself fueled is a significant ongoing expense on any hike. Think of food & resupply as the “monthly grocery bill” of your thru-hike. Budgeting for food involves two things: the meals and snacks you’ll eat on the trail and the treats and restaurant meals you’ll enjoy in town.
For on-trail food, many hikers estimate spending about $10–$15 per day on food. If you’re hiking for 100 days, that’s roughly $1,000 in trail groceries. Hiker hunger is real – as the miles add up, you’ll eat a lot more, so bump up your food budget for longer hikes. You can control costs by buying typical supermarket items (ramen, tortillas, peanut butter, etc.) which are calorie-dense and cheap. Purchasing in bulk before the hike can save money per meal, but remember you’ll have to ship those supplies (which adds cost). Mail drops – sending yourself resupply boxes – offer cost predictability but include postage fees. Meanwhile, buying food in trail towns gives flexibility but prices might be higher (small mountain town stores can be pricey and have limited options). Many hikers do a mix: mail yourself staple foods (to save money by buying in bulk) and then supplement locally as needed. If you go the mail-drop route, budget for shipping costs and potential pickup fees at hostels or post offices.
For in-town food, be realistic (and kind) with yourself. Part of the joy of a thru-hike is celebrating a tough stretch with pizza, burgers, or that giant ice cream sundae in the next town! But those restaurant bills add up quickly. Plan a “town food” budget for each stop – e.g. allow yourself one restaurant dinner and a beer, plus maybe a resupply of fresh fruit. By setting a limit (say $30-50 per town stop, depending on your tastes), you can indulge guilt-free without blowing through your cash early. Track those small purchases; a soda here and a coffee there every stop might silently siphon a lot from your funds.
Tips to Stretch Your Food Budget
Embrace simple, filling foods (oatmeal, instant rice, tuna, trail mix). Look for dollar stores or big-box supermarkets in trail towns to resupply cheaply when possible. And consider your nutrition – sometimes spending a bit more on healthier, protein-rich food can keep you strong and maybe save money on town recovery costs (like vitamins or medical needs). Bottom line: food is fuel, and you want enough of it. Budget generously here so you’re never tempted to skimp on calories to save money – that’s a false economy when you’re hiking 20 miles a day.
Travel Costs (Getting There & Back)
Unless the trail runs by your front door, you’ll have travel expenses to start and end your hike. Travel costs include transportation to the trailhead, and the trip home afterward – plus any mid-hike travel for flip-flops or breaks. This category can range from minor to major, depending on distance and mode:
Flights: If you’re flying cross-country to hike the Pacific Crest Trail (for example), airfare might be one of your larger expenses. Book early if you can, but thru-hikes often have uncertain end dates – you might not know exactly when you’ll finish, making return tickets tricky. Consider buying one-way tickets or refundable fares for flexibility. Using airline miles or credit card points (see Travel Hacking below) can significantly cut these costs.
Shuttles and Rental Cars: Many long trails start or end in remote areas with no public transit. Hiker shuttles, buses, or even rental cars might be needed. Research the typical costs. These can be $20, $50, sometimes $100+ for long distances. Joining up with other hikers to split a shuttle or rental car can save a lot – keep an eye on hiker forums to carpool.
Driving: If you drive your own car to the trail, budget for gas, possible lodging on the road, and parking fees. Some hikers have a friend drop them off to avoid parking a car for months. If you do leave a vehicle, consider the cost and safety (and factor retrieval of the car at the end into your return travel plans).
Return Trip: Don’t forget to set aside money for getting home. Many hikers finish broke and then struggle to afford a way home – let’s avoid that! Plan for a bus ticket, flight, or one-way car rental at journey’s end. Prices can be higher last-minute, so pad your return-home budget just in case (an open-ended plane ticket might be $300–$600, for example).
For solo female hikers, also think about safety/convenience versus cost. You might choose a slightly more expensive transportation option if it feels safer (e.g. a reputable shuttle driver over hitchhiking alone). That’s 100% okay – budget for your peace of mind. With planning, travel logistics will be smooth, and you can start and end your hike without financial stress.
Lodging & Zero Days
A hot shower and a soft bed – pure bliss after weeks on the trail. Lodging on a thru-hike refers to those nights you spend in town: hostels, motels, the occasional Airbnb or friendly trail angel’s home. It also includes the cost of zero days (rest days when you don’t hike) or “nero” days (nearly zero mileage days), since usually you’re in a town spending money during those. This can become one of the largest budget categories if you’re not careful!
Typical Costs
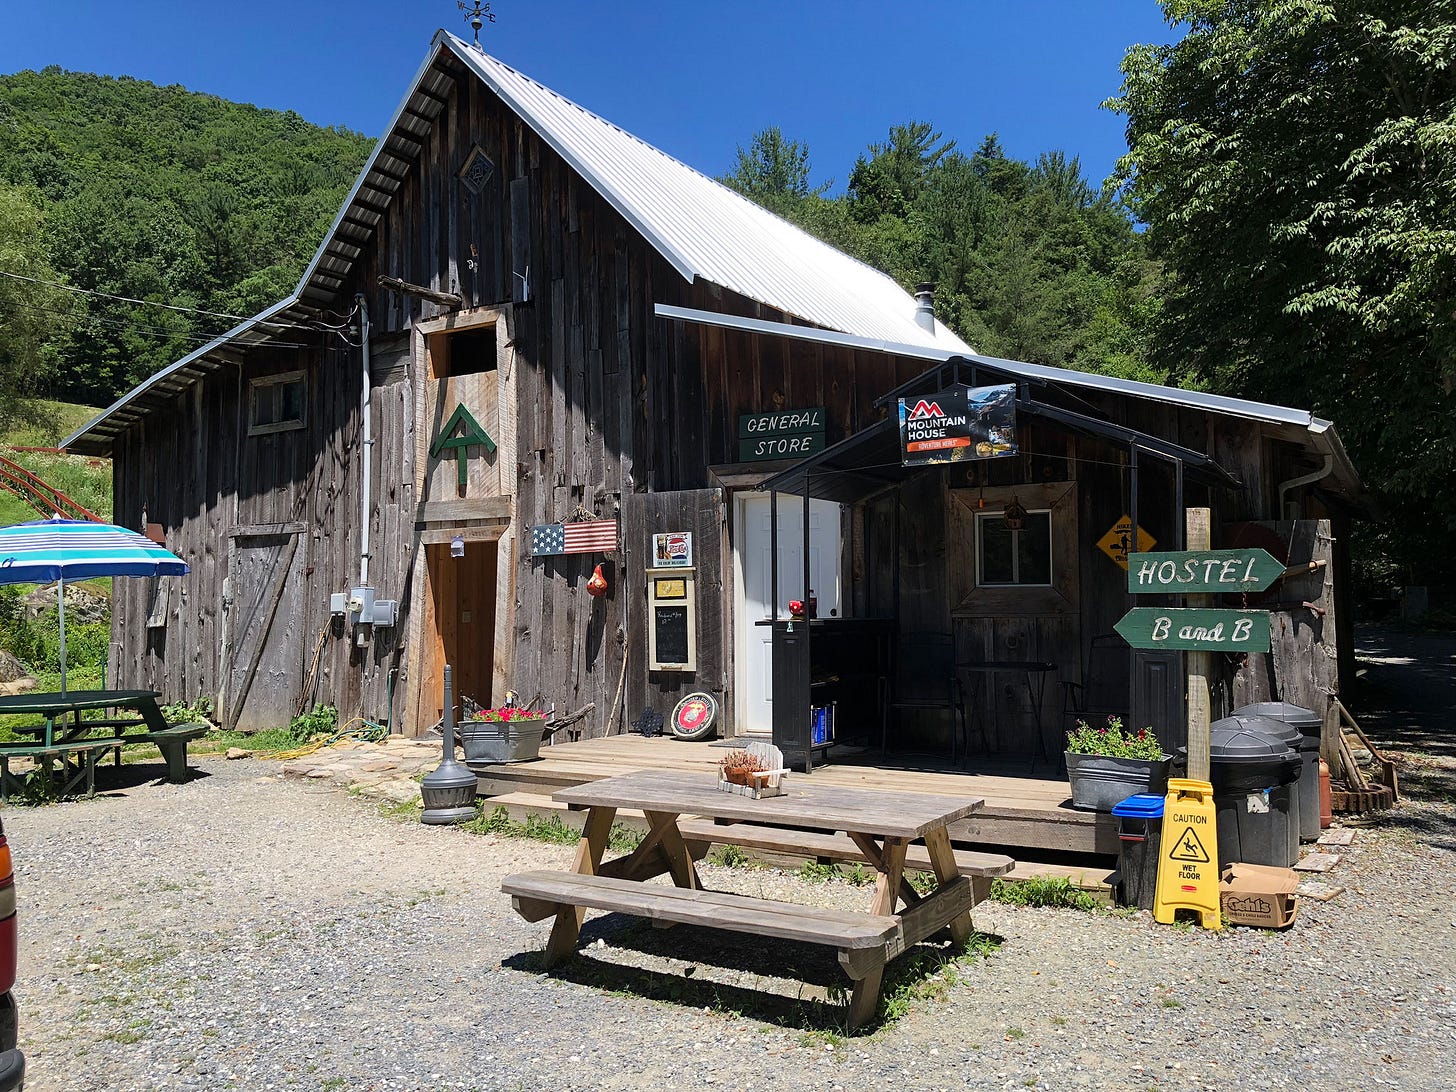
Hostel dorm beds in trail towns might range $20–$40 per night (often with a free pancake breakfast!). Budget motels or private rooms can be $60–$100+ depending on location and season. Popular spots near national parks or during festivals can spike higher. A single zero day can easily cost over $100 when you add lodging, meals, and incidentals. Plan how many zero days you expect to take.
For example, on the Appalachian Trail (5–6 months long) a common approach is a zero every 2–3 weeks. If you estimate ~10 zero days at $100 each, that’s $1,000 in your budget. Some hikers take more; some power through with fewer – know thyself and err on the side of a few extra rest days (your body may demand it!).

Strategies to Reduce Lodging Costs:
Share Rooms: As a solo hiker, you can team up with others to split motel costs. It’s common for hikers to throw 4 people in a cheap motel room and divide the rate.
Stay with Trail Angels: Trail angel networks or platforms like Hostel sites, Couchsurfing, etc., sometimes offer free or donation-based stays. Always do your research and ensure it’s a safe situation. Many trail communities have legendary hostels or church bunkhouses that are very low cost (or work-for-stay). Take advantage of these when available to give your budget a break.
Plan Town Stops Wisely: One pro tip is to hike into town early in the day and handle all your chores (shower, laundry, resupply) then hike out by evening to camp on-trail – effectively enjoying town food and services without paying for a night’s lodging. This “nero out” strategy can cut down the number of paid overnights. Of course, some nights you will want to sleep in a real bed – just try not to turn every town stop into a multi-night stay unless you’ve budgeted for it.
Budget “Extra” Nights: Unexpected things happen – maybe you get sick and need to hole up in a motel for two days, or bad weather convinces you to zero unexpectedly. Build a cushion for a few unplanned nights indoors. Having a little extra in this category means you can handle surprises (or treat yourself to an extra rest day with less guilt).
Lodging is as luxurious or as Spartan as you make it. Some thrifty hikers hardly spend a dime on lodging (preferring to camp outside town), while others “platinum blaze” with frequent hotel stops. Decide what level of comfort keeps you healthy and happy. As a solo female, you might value the occasional secure, private room – that’s okay! Just work it into the plan. With a degree of mindfulness, you can enjoy the magic of trail town hospitality without derailing your finances.
✨ What's your favorite piece of trail magic? Trail magic can appear in many forms—maybe it's a surprise cooler of drinks on a sweltering day, the stranger who offered a hot meal, or simply the perfect sunset after a grueling climb. Share your best trail magic story below!
From Dreaming to Doing: Mastering Your Trail Budget
Planning a thru-hike means prepping for a journey that’s as financial as it is physical (and mental, but that’s for a different blog entirely). By getting a firm grasp on your gear, food, travel, and lodging budgets, you’re setting yourself up for an adventure defined by joy and freedom—not stress and penny-pinching.
In the next installment of our "Adventure Finance" series, I’ll break down budgeting strategies based on hike duration, guide you through the art of saving and creatively funding your adventure, and tackle the essentials of managing money effectively while you're out on the trail. Whether you're heading out for two weeks or six months, we’ll ensure you have the tools to budget smart, save effectively, and spend wisely on your epic trek.
Stay tuned; financial freedom on the trail is within your reach!


